
Create Self-Running Approval Processes in Salesforce Flow

You can build a self-running approval process in Flow without writing a line of Apex. Wire together a trigger, one or more Approvals actions, a decision branch on the outcome, and an escalation table, and the process handles itself from submission to audit log. The core pieces: a record-triggered or autolaunched trigger, Flow Builder approval actions (or the newer Flow Approval Orchestration for multi-stage cases), conditional routing through a Decision or Switch element, a delegation/escalation table, an immutable audit record, and a notification step back to the requester. Early answer-first placement like this matters for a reason: research on how AI tools cite content shows conditional routing and approvals no longer require custom code, which is exactly why admins can own this build end to end.
Quick steps to get moving:
- Submit the request through a structured intake screen or triggered record.
- Run it through an Approvals action set to the right mode (first to respond, everyone must approve, or custom).
- Route the outcome with a Decision or Switch element.
- Write the decision to an audit object and notify the requester.
Salesforce Flow, the Approvals app, and EasyFlow (for teams that want approvals to run outside Salesforce entirely) all solve this differently. The rest of this guide walks through how to pick the right one for your process.
Key Takeaways
A self-running approval process combines a Flow trigger, an Approvals action with the right mode, conditional routing, delegation and escalation logic, and an immutable audit record.
| Point | Details |
|---|---|
| Pick the right approval mode | Match first-to-respond, everyone-must-approve, or custom responses to the actual risk level of the request. |
| Route before you approve | Use Switch elements on dollar thresholds or department to skip unnecessary stages for low-risk requests. |
| Wire delegation and escalation together | Check a delegation table and set timeout timers so an absent approver never stalls the process. |
| Persist state for long approvals | Store approval status in Dataverse or a custom object instead of relying on one continuous flow run. |
| Consider execution-first tools for external approvers | EasyFlow lets outside collaborators approve via magic link with no Salesforce account needed. |
Table of Contents
- How Do You Prepare To Create Self-Running Approval Processes?
- Which Design Pattern Fits Your Approval Process?
- How Do You Build a Self-Running Approval Flow?
- How Do You Trigger Approvals and Handle Long-Running Cases?
- How Do You Test and Debug an Approval Flow?
- What Security and Permissions Does an Approval Process Need?
- What Do Ready-to-Use Approval Templates Look Like?
- Want Approvals That Run Themselves Outside Salesforce Too?
- Sources
- FAQ
How Do You Prepare To Create Self-Running Approval Processes?
Before you open Flow Builder, confirm your org edition supports the Approvals action and check whether you need Dataverse (or a custom object) for long-running state. Not every edition ships with Flow Approval Orchestration, so verify access first rather than discovering the gap mid-build.
You’ll also need someone with permission to create and activate flows, and clarity on who provisions Dataverse if your approval needs to survive beyond a single flow run. Approver assignment has its own caveat: queues and public groups behave differently than individual users when Flow evaluates “who’s next.”
Before building anything, get these in place:
- Standardized intake fields: requester, request type, amount or impact, justification, due date, and attachments, a pattern that holds up well across automated approval builds.
- A canonical request ID and record ID so every downstream step references the same object.
- A system-of-record for audit entries (Dataverse table or custom Salesforce object).
- A paper map of the current process, including thresholds, routing rules, and backup approvers.
- A defined SLA or timeout policy for every approval stage.
Pro Tip: Provision a sandbox first. Run five or six sample requests through it, including one with a missing approver, before you ever touch production.
Which Design Pattern Fits Your Approval Process?
Not every approval needs the same shape. Approval actions support several modes, including first-to-respond (fast, for low-risk requests), everyone-must-approve (stringent, for compliance-heavy decisions), sequential approvals (ordered handoffs), and custom-response modes for anything beyond a binary yes or no.
Match the pattern to the actual risk and volume of the request, not to what feels thorough:
- Auto-approve under a threshold: skip human review entirely for low-dollar or low-risk requests.
- Conditional stage skipping: a $500 purchase order shouldn’t route through the same three approvers as a $50,000 one.
- Parallel branch and join: send a request to legal and finance simultaneously, then merge outcomes before proceeding.
- Staged approvals with gating conditions: each stage only fires if the prior one clears a specific condition.
Choosing between these comes down to four questions: how many requests hit this process weekly, how much risk a bad approval carries, how many people touch the handoff, and how much audit detail compliance demands. High-volume, rule-based, multi-handoff processes are exactly the candidates worth automating first; low-volume, judgment-heavy ones often aren’t worth the build effort.
Watch for anti-patterns that quietly sabotage a self-running process. Chaining five unconditional approval steps in sequence when three of them could be skipped by a Decision element wastes everyone’s time. Skipping delegation and escalation logic means one absent manager stalls the entire pipeline. And automating a process that was already broken on paper just makes the breakage faster and harder to trace.
Pro Tip: Build your gating conditions so the majority of requests skip as many stages as possible.
How Do You Build a Self-Running Approval Flow?
Start with the shape of the whole thing before you touch a single element. Decide your trigger type, the fields going into your approval payload, who the approvers are (and who backs them up), and what happens on each outcome branch. Get that on paper first.
Here’s the build order that holds up in practice:
- Create your intake object and fields. Requester, request type, amount, justification, due date, attachments, plus a status field the flow will update.
- Configure your trigger. Record-triggered flows fire on create or update; autolaunched flows work when another process or Apex invokes them directly.
- Compose the approval payload. Title, context-rich details, and a direct link to the record. Approval cards with full context get faster responses because the approver never has to open a second tab to understand what they’re deciding on.
- Add an Approvals action. Set the mode: First to Respond, Everyone Must Approve, or Custom Responses, depending on the pattern you picked earlier.
- Branch on the outcome using a Decision or Switch element rather than nesting more conditions inside the same path.
- Write the audit record to Dataverse or a custom object, capturing request ID, approver, decision, timestamp, and comments.
- Notify the requester with the outcome and next steps.
Conditional routing is where most of the actual logic lives. A dollar-threshold check might send anything over $10,000 to a director-level approver while auto-clearing everything below it. Department-based routing sends marketing spend to one queue and engineering spend to another. A contract flag might trigger an extra legal review step that skips entirely for non-contract requests. Insert these checks with a Switch element immediately after intake, before the first Approvals action fires, so the flow never runs an unnecessary stage.
Delegation and escalation logic belongs right alongside your Approvals action, not bolted on afterward. Query a delegation table to check if the primary approver has a backup on file, or check an out-of-office field if you’re tracking that on the User object. Set a timer element with a defined timeout window; when it expires, auto-escalate to the next approver in the chain rather than letting the request sit indefinitely.

A few maintainability habits pay off fast. Name every action and variable consistently so a colleague inheriting your flow six months from now can follow the logic without a walkthrough. Use Switch elements instead of deeply nested Decision branches; three levels of nested conditions is where flows become unreadable. And keep one Approval action per logical stage. Cramming two decisions into a single action makes debugging painful when something goes wrong.
Before activating anything in production, run through a short checklist: confirm every approver reference resolves to a real user or queue, confirm the audit object write happens on every path (including rejections), and confirm notifications fire correctly on both approval and denial.
How Do You Trigger Approvals and Handle Long-Running Cases?
You have four realistic trigger options: record-created, record-updated, a platform event, or an external webhook. Record-triggered flows are the most observable, since you can see exactly what fired them in Flow’s run history. Platform events and webhooks give you more flexibility for cross-system triggers but make debugging harder because the trigger source lives outside Salesforce’s native logging.
Long-running approvals are where flows most often break. If a review cycle might stretch past a platform timeout, don’t try to keep one flow run alive that entire time.
- Store approval state in Dataverse or a custom object rather than relying on an in-memory flow variable.
- Use a two-flow pattern: one flow sends the approval request and exits, a second flow processes the response when it arrives.
- Persisting state this way lets the approval resume correctly even after the original flow run has ended.
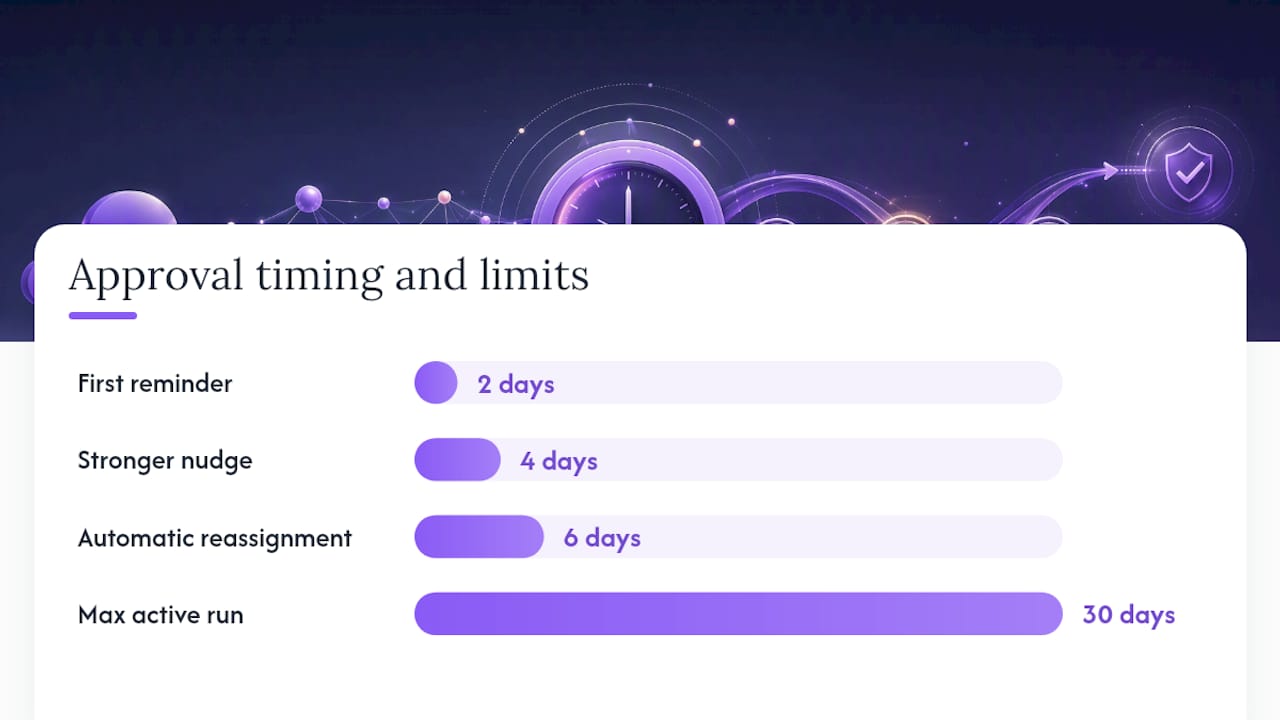
- Set timers for reminders, and escalate progressively. A message on day two, a stronger nudge on day four, and an automatic reassignment to a backup approver on day six is a reasonable cadence for most business approvals.
- As a rule of thumb, avoid designing any single flow run that needs to stay active for more than 30 days. Persist state and resume from records instead.
Pro Tip: Build a status dashboard on your audit object to quickly spot stalled approvals.
How Do You Test and Debug an Approval Flow?
Test the actual paths a request can take, not just the happy path where everyone approves on time.
| Scenario | What to verify |
|---|---|
| Auto-approve under threshold | Flow skips human review and writes the audit record correctly |
| Manager absent | Delegation table routes to backup approver without manual intervention |
| Parallel approver unavailable | Remaining approver’s response still triggers the join correctly |
| Custom response path | Non-binary outcomes route to the correct next stage |
| Rejection with comments | Comments persist to the audit record and requester gets notified |
| Missing required field | Flow fails gracefully with a clear error, not a silent stall |
Before launch, run a short debugging pass: enable debug logs, create a couple of test users to simulate different approvers, and manually trigger each response type to confirm the flow behaves as designed. Write test audit records and check that notifications actually land, not just that the flow marks them as sent.
For production rollout, run 10 real pilot requests through the live flow, track cycle time and any error log entries, and get sign-off from the actual approvers before turning it loose org-wide. Flow’s run history is your best diagnostic tool here. The most common failures are mundane: a required field missing from the intake form, an approver reference pointing to a deactivated user, or a timeout set too aggressively for how long people actually take to respond.
What Security and Permissions Does an Approval Process Need?
Only give Flow create and edit rights to admins who understand the process they’re automating. Approver assignments need equal scrutiny. Queues and public groups need clear ownership, and external or guest-user approvers need explicit, limited access rather than blanket permissions.
Every decision should write to an immutable record: approver identity, timestamp, decision, and comments, stored in Dataverse or a custom object designed for compliance and debugging. That audit trail is what you’ll rely on the day someone asks “who approved this and when.”
Keep approval card payloads lean. Don’t expose a customer’s full contract terms in a Slack or email notification when a link to the record would do. Add retention rules and periodic admin review for any flow handling high-risk approvals like contract sign-off or vendor payments, and confirm any external integration touching your approval actions meets your org’s existing security standards before you connect it.
What Do Ready-to-Use Approval Templates Look Like?
Two patterns cover most real-world needs. Adapt the specifics; keep the structure.
Template A: Purchase order with threshold-based stage skipping. Intake captures amount, department, and vendor. A Switch element checks the dollar amount: under $1,000 auto-approves, $1,000 to $10,000 routes to a department manager, above that adds a director-level second stage. Each stage writes to the audit object regardless of outcome.
Template B: Auto-approve under threshold with mandatory audit trail. Even when nothing needs human review, the flow still validates required fields, writes a full audit record, and notifies the requester and their manager that the request cleared automatically. Self-approval doesn’t mean skipping the paper trail.
| Variable | Purpose |
|---|---|
| Request amount | Drives threshold and routing logic |
| Approver lookup field | Resolves who reviews at each stage |
| Timeout duration | Triggers escalation if unanswered |
| Notification template | Standardizes requester and approver messaging |
To adapt either template, adjust the threshold values, add a parallel reviewer branch for dual sign-off, or convert Template A into a full Flow Approval Orchestration sequence if you need more than two or three stages.
When Should You Build in Flow vs. Choose an Execution-First Platform?
Build in Flow when approvals must live inside Salesforce records and lean on Apex-invoked logic or tight data integration. Reach for an execution-first platform like EasyFlow when you need external approvers who shouldn’t need a Salesforce license, fast template deployment, or lower ongoing maintenance. Flow gives you control; a SaaS platform trades some of that control for less governance overhead.
Want Approvals That Run Themselves Outside Salesforce Too?
If your approval process regularly involves people who don’t have Salesforce logins, vendors, contractors, clients signing off on deliverables, Flow starts to show its limits. Every external approver either needs a license or a workaround, and that friction adds up fast across dozens of requests a month.
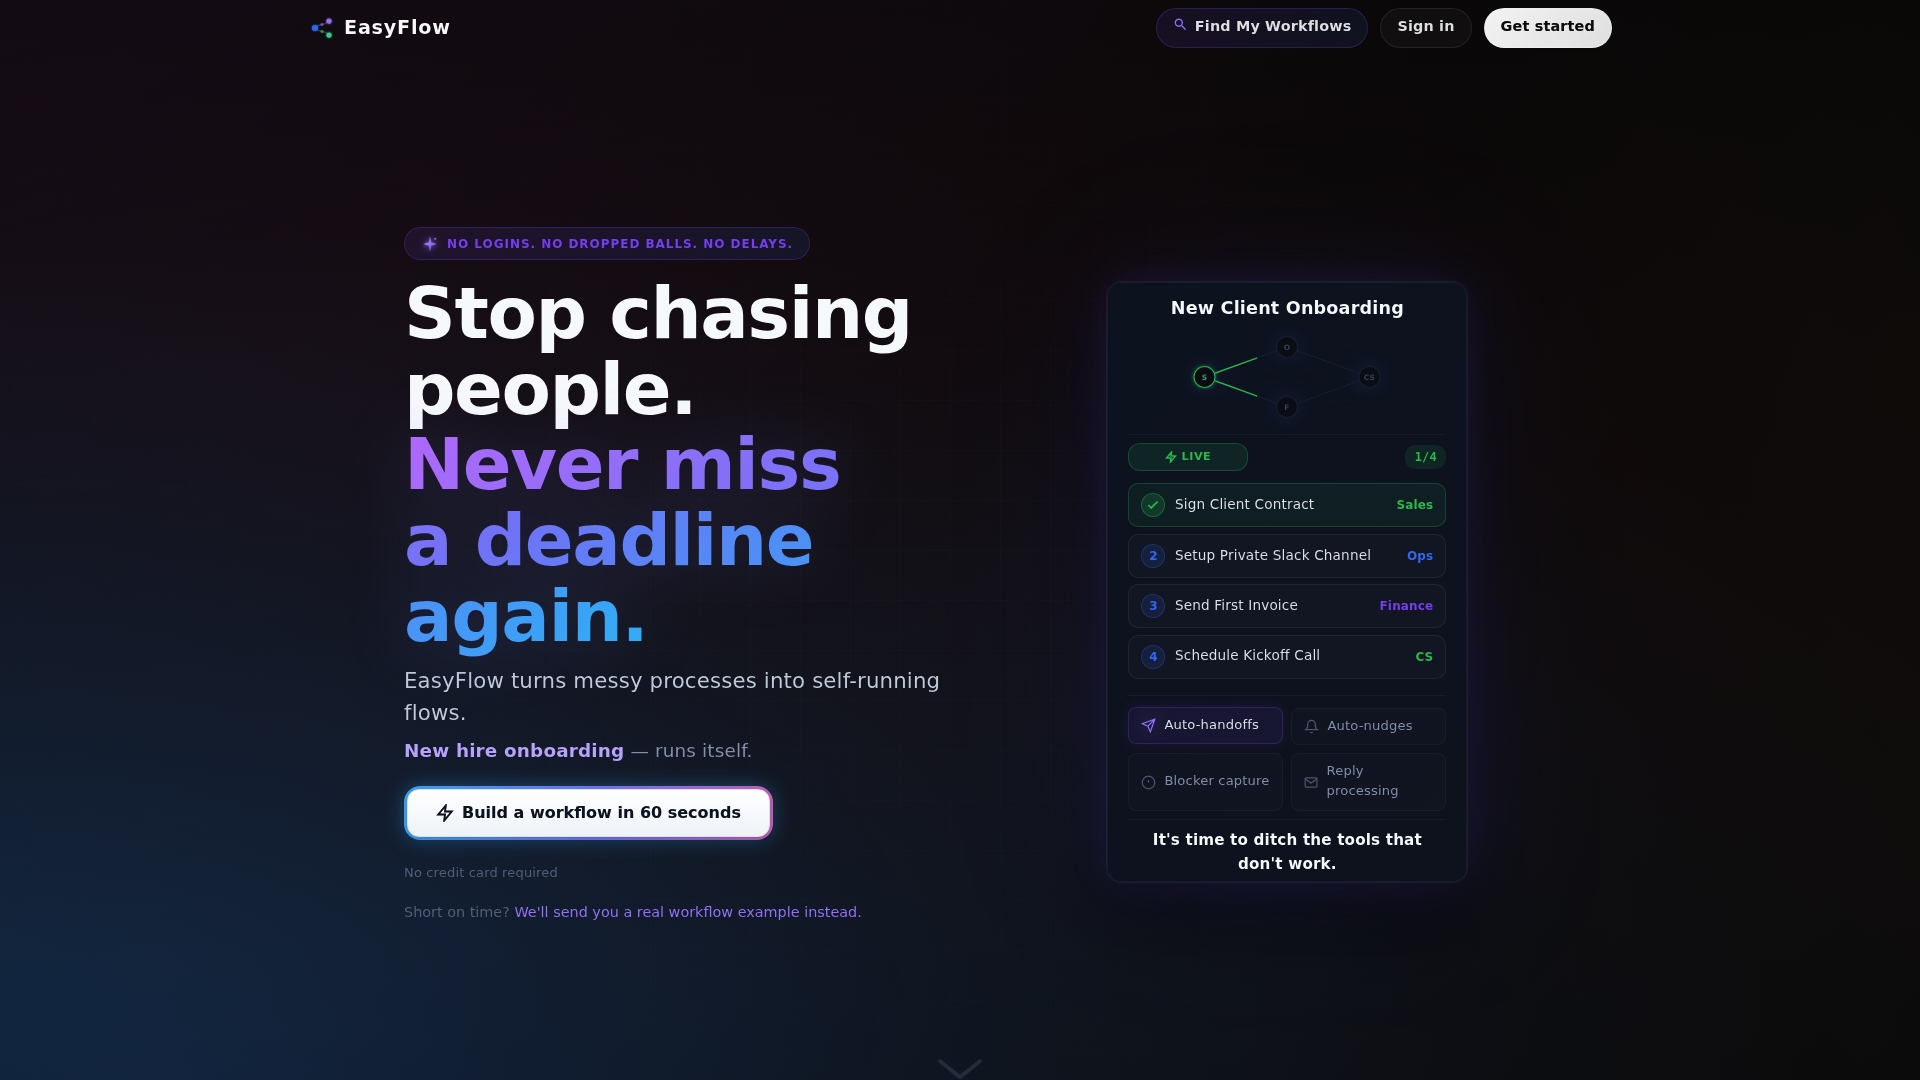
EasyFlow takes a different approach: it executes the process itself rather than just tracking it, and external collaborators complete their step through a magic link with no account setup required. That alone removes the single biggest source of follow-up emails in cross-company approval chains. You get prebuilt approval templates, built-in delegation and escalation, full audit logging, and a visual workflow view that non-technical approvers can understand without training. Teams already use it for onboarding approvals and client implementation sign-offs, exactly the kind of multi-party process where Salesforce licensing becomes the bottleneck.
If external approvers, faster setup, or less flow-maintenance overhead sound like your situation, start a free trial and run your next approval process through it before you commit.
Sources
For UI-specific steps on building approval steps and assigning approvers, Salesforce’s own documentation on Flow Approval Orchestration is the most current reference. For a broader look at conditional routing without code, the Salesforce Ben walkthrough covers practical shortcuts. For delegation and escalation patterns that translate across platforms, the Power Automate approval build guide is worth a read even if you’re building in Salesforce.
- How to Build an Approval Workflow in Power Automate - A Practical Build Guide | Team 400 Blog
- How to Automate Approval Workflows Without Code (I Built 5 Last Month) | Saksham Solanki
- Build Automated Approval Workflows with AI | Rain Automation
FAQ
How Do You Create an Approval Process?
Map your existing process on paper, build a structured intake form, add an Approvals action with conditional routing, wire in delegation and escalation, then test with real pilot requests before activating in production.
Can You Give an Example of an Approval Workflow?
A purchase order under $1,000 auto-approves and logs an audit record; anything above that routes to a manager, and requests over $10,000 add a second director-level approval stage.
How Do You Trigger an Approval Process From Flow?
Use a record-triggered flow for create or update events, or an autolaunched flow when another process or Apex needs to invoke the approval directly.
Can You Use Power Automate for Approvals?
Yes. Power Automate’s modern approvals support the same core modes as Salesforce Flow, including first-to-respond and custom responses, and can integrate with SharePoint, Dynamics 365, and Salesforce. Teams that need external, license-free participation often prefer an execution-first tool like EasyFlow instead.